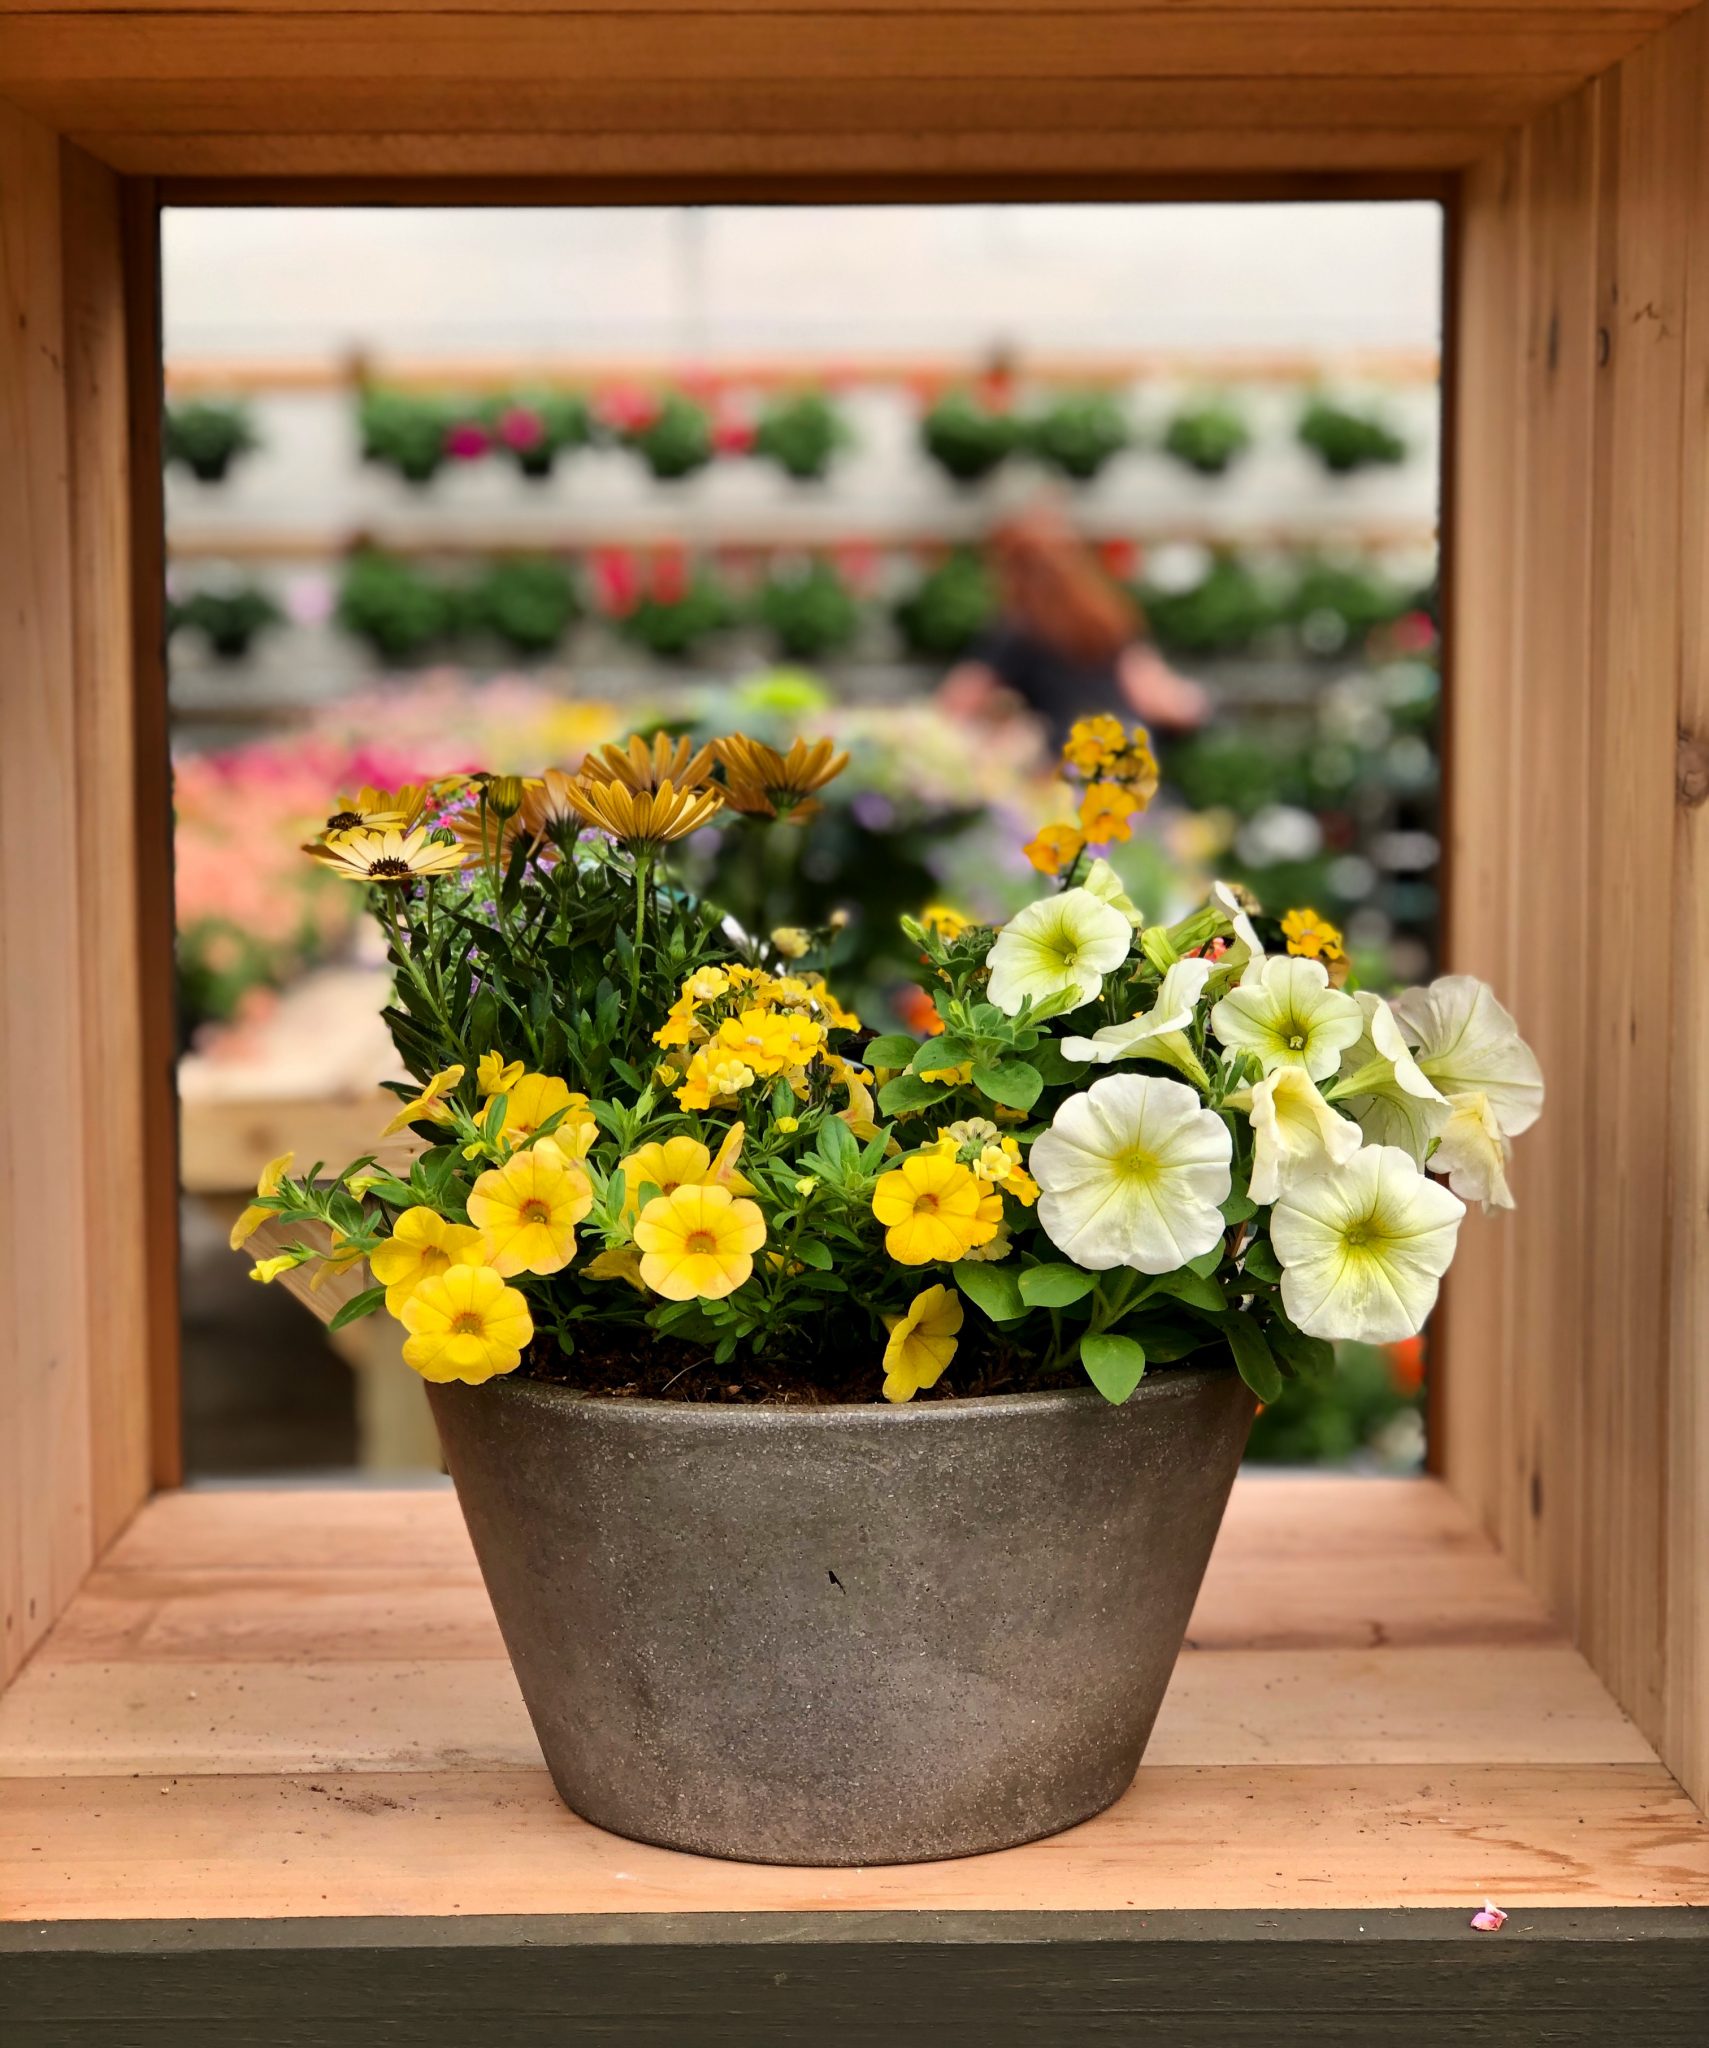
With the thought of spending ample time at home for the next couple of weeks, what better time to spruce up the outside. Planting a little container garden is a great afternoon activity with the kids and a good project to keep coming back to. Follow our steps below to add some color to your pots!
- Determine Your Light
– Full Sun: all day sun from morning into late afternoon
– Part Sun: six hours of direct sun
– Morning Sun: sun until noon
– Filtered Light: dapples sun through a tree canopy
– Bright Shade: sun does not reach the plants but it is present (example: a covered porch with a sunny area outside the porch)
– Dense Shade: heavy tree canopy - Prep for Planting a Container
– Choose a planter that has good drainage with at least a hole or two in the bottom.
– Use a good potting mix. We recommend Espoma Organic Potting Soil Mix or Moisture Mix - Start Planting!
– Remove any dead blooms and leaves before starting.
– Tease the roots to promote good root growth. If the plant is round bound, slice vertically around the rootball with a sharp edge. Note: Not all plants want to have their roots disturbed. Check with us to determine if yours is one of them.
– Add Biotone Starter to the bottom of the planting hole so the roots come in direct contact with the product.
– Back fill the area around the plant with soil. - Watering Your Newly Planted Annuals
– Water thoroughly! Allow water to pass all the way through the container. Note: coco liner dries quickly! - Fertilizing
– Apply organic Flowertone monthly from spring through September.
– Use Liquid Bloom very 2-4 weeks throughout the growing season for promoted flower growth. This is excellent for containers and hanging baskets! - Deadheading
– Most blooming annuals benefit from removing dead flowers. Go to the base of the stem and snip to remove


